Decide where the image has to work
Begin with the destination: a square product tile, a portrait poster or a wide article illustration. The destination changes how much space the subject can occupy and where text can sit. A close crop that looks strong on its own may be unusable when the page needs room for a heading.
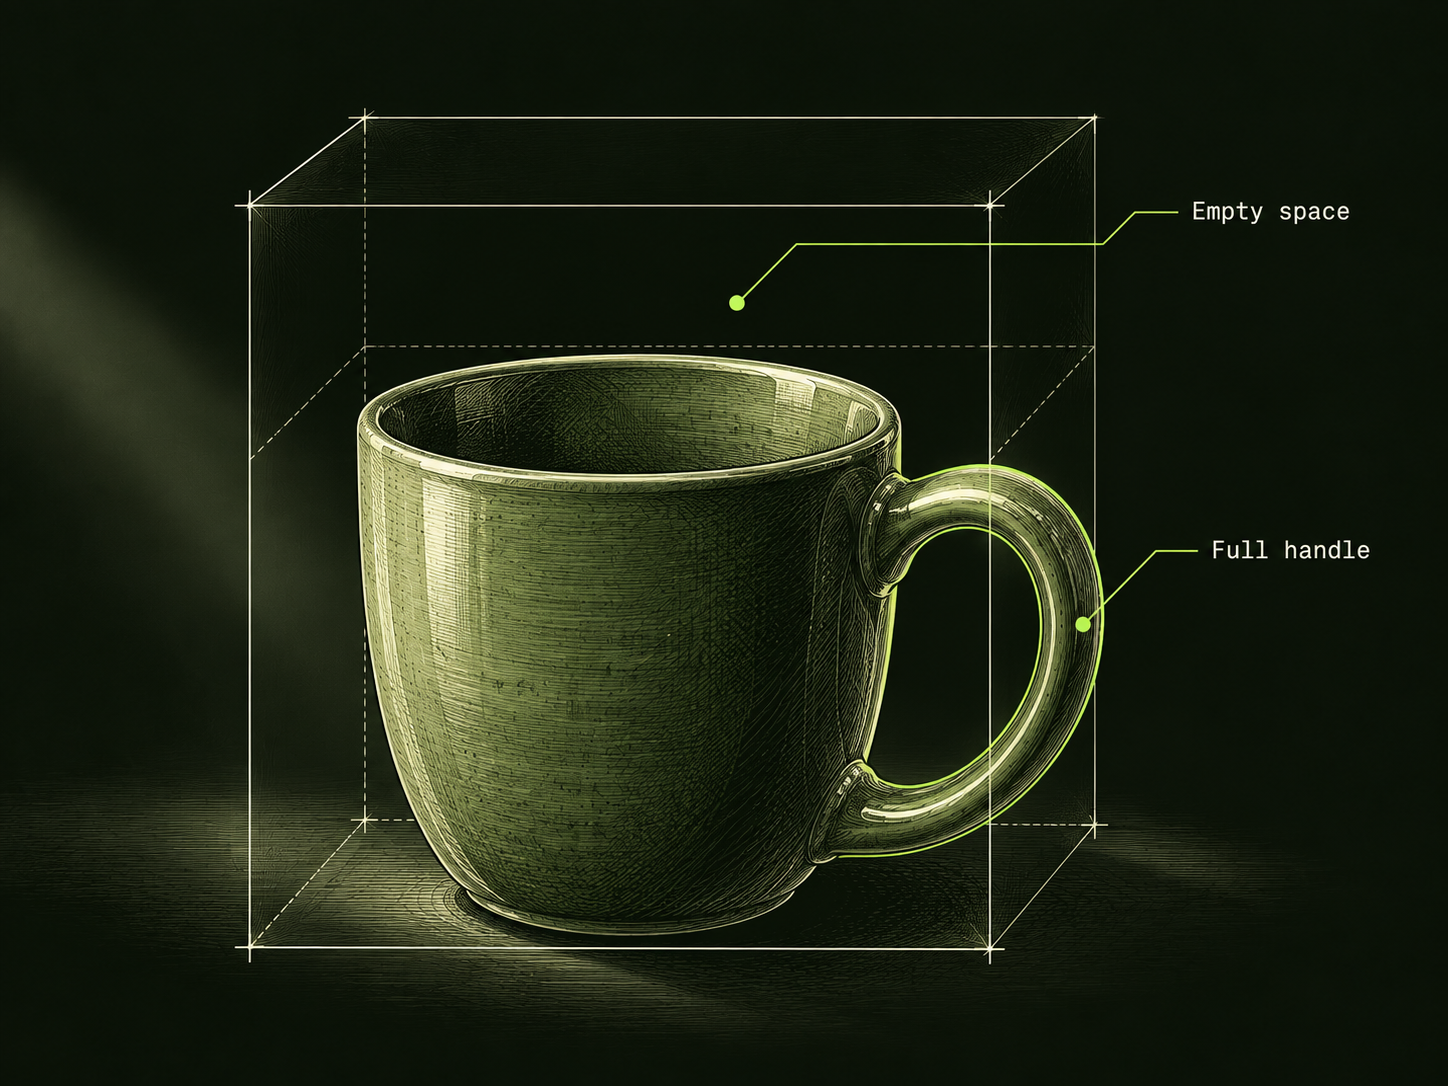
Define what the reader should notice first. For a fictional ceramic cup, it might be the handle shape. For a room concept, it could be the arrangement of furniture. Those priorities are more concrete than a long chain of style adjectives.
Adobe’s prompt guidance encourages descriptive subject and visual details. Use that as a starting point, then adapt the brief to the controls of your chosen image tool. Do not assume a natural-language aspect ratio overrides a separate size setting.
A product brief with a visible composition
Purpose: square tile for a fictional ceramic cup.
Subject: one matte olive cup with a curved handle.
View: three-quarter angle; handle visible on the right.
Layout: cup occupies the lower two thirds of the frame.
Background: plain warm white; empty space above.
Light: soft side light; a small grounded shadow.
Must keep: one cup, complete handle, no invented logo.
Avoid: extra props or lettering inside the image.
This is an original planning example, not the result of a generator test. It gives you a set of visible relationships to assess. If the image contains two cups, the subject count failed. If the top is crowded, the text space failed. You can name the defect without deciding whether the image is generally beautiful.
The brief should remain short enough to use. Remove details that do not affect the intended picture. A dozen competing styles can obscure which instruction matters when the result misses the target.
For edits, list what must not change
| Edit target | Details to preserve | Review question |
|---|---|---|
| Brighten a product photo | Shape, markings and material. | Did the edit invent a feature? |
| Clean a background | Subject identity and position. | Did anything important disappear? |
| Change a crop | Required object boundaries. | Is the full handle still visible? |
| Explore a fictional room layout | Agreed positions and scale relationships. | Does the arrangement match the brief? |
When an existing photograph documents a real result, decide which changes are acceptable before editing. An attractive alteration that changes the result being shown can undermine the purpose of the photograph.
Use an image you own or are permitted to edit. For an identifiable person, do not assume that possession of a photograph gives permission for every transformation. The editing brief should reflect the intended and authorized use.
Change one relationship at a time
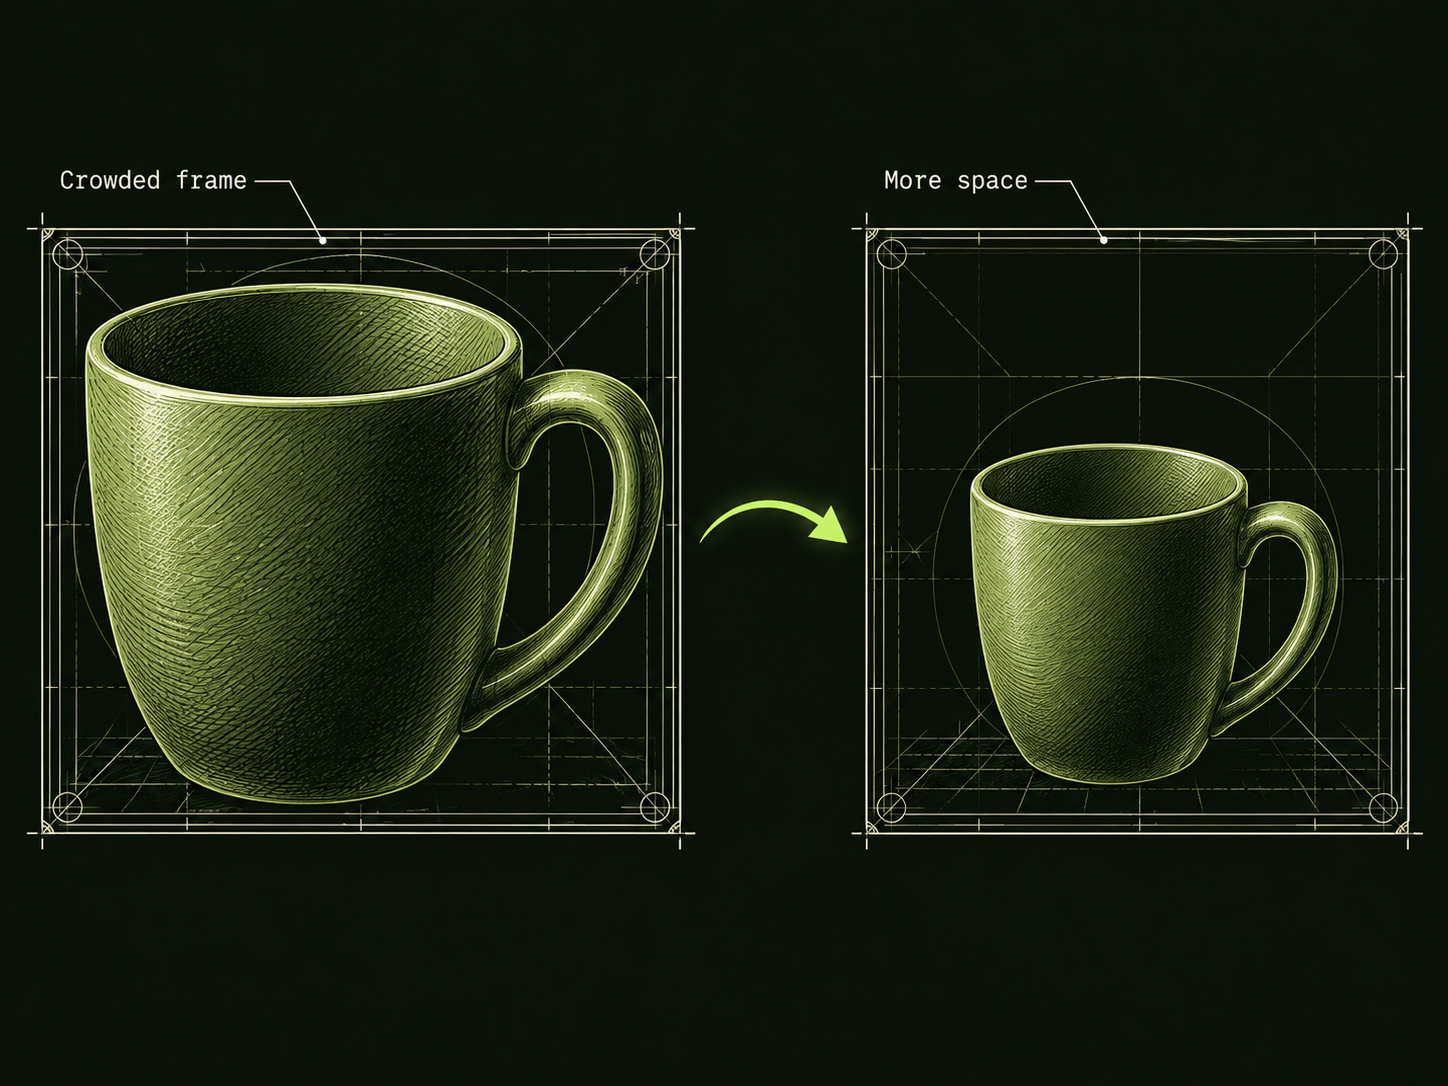
Suppose the fictional cup has the right material but fills almost the whole frame. Ask for more space above the cup while keeping its angle, shape and lighting. That gives the next attempt a clear target.
“Keep the cup and side lighting. Reduce its size in the frame and leave the upper third empty. Do not add text or props.”
Revision instruction for the fictional cup example
Compare both images at their intended display size. A variation can improve empty space while damaging the handle. Keep a short checklist of preserved details rather than accepting every newer result as an improvement.
Different tools support references and editing controls differently. If a generator cannot preserve the detail reliably, use a more suitable editing method. Repeating increasingly forceful prompts is not evidence that the tool now has precise control.
Know when the image should be drawn or typeset
A visual illustration can explain an idea, but exact tables, measurements and small text often need a deterministic layout. If a diagram must show a particular number of branches, draw and verify that structure directly. If a product label must contain exact wording, typeset it as editable text rather than hoping a generator reproduces it correctly.
Inspect the final asset at the size visitors will actually see. Check legibility, crop and whether the image adds information to the surrounding article. A decorative picture with no explanatory role does not become useful because it matches the site’s colors.
DarkGPT can help write and review an image brief. Image generation is not a feature of the DarkGPT workspace. Take the brief to a suitable image tool, then review the result against the actual visual requirements.
Sources & further reading
Follow the original source to check its date and scope.
- Writing effective text prompts
Adobe Firefly documentation | descriptive subject and visual details; tool-specific controls vary.
Make it your next question
Try this prompt
Use this promptHelp me write a visual brief for a fictional product image. Ask where it will be used and which details must stay accurate. Specify composition and one revision target. Return the brief only; do not claim to generate an image.
Opens chat with this prompt filled in. You choose when to send it.